Showing posts with label Thrifting. Show all posts

Wednesday, July 18, 2012

The Creole Cottage

Good Wednesday to you all! Last week I discovered what I think is going to be a gem of a shopping experience in New Orleans. It's a local interiors shop called The Creole Cottage. It is owned by a mother-daughter duo who take old pieces of furniture and upcycle them to new chic life and then sell them at reasonable prices. Yes!

(I'm loving this fence headboard... click on the picture to see it and other great items in The Creole Cottage online shop)
Fence headboard (twin). $45.

Needless to say, I am planning to drop by asap. Nothing like looking forward to a shopping experience to escape the stresses of moving.

On that note I better get back to tying up loose ends at work and emotionally eating Oreos.

Speaking of food... I went really light on the grocery shopping this week knowing we needed to use up what we already had, so I am looking forward to an enviable lunch of frozen broccoli and pecans at my desk, yum!

I truly hope your lunch plans are half as good as mine.

Linking up with Simple Design... because everyone needs to know about this.

Tuesday, June 5, 2012

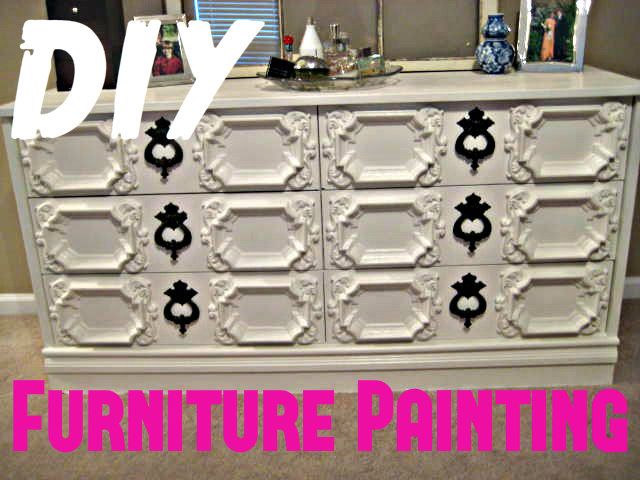
DIY Furniture Painting


Let me start with a disclaimer – Andrew and I are in no way an authority on furniture painting. This was our very first attempt at a big furniture redo. You can read about the dresser we thrifted here. It turned out great so I am going to share it!
Some things you should know before you begin:
1. DIYing furniture requires some research. We read a TON of articles before we ever started or bought the first supply. We also talked with the owner of the thrift store where we purchased the dresser as well as our dependable Home Depot paint man. Between these resources we felt confident in pressing forward. Without them we would have ended up with a big old mess. Some articles we found helpful can be found by clicking here and here. And also here.
2. DIYing furniture can sometimes be as expensive as buying new, especially the first time. We began with zero supplies so we had to buy EVERYTHING. The total cost of our dresser+supplies was around $120. This is much less expensive than the pieces of furniture we like that are new; however, it wasn’t “cheap” (by our standards).
3. DIYing furniture is not for the faint of heart. We quickly learned that if we wanted our dresser to look good we had to be patient and take our time. We ended up spending about 10 straight hours out on our HOT driveway working on the dresser from start to finish. At the end we were both sun-burnt and exhausted. I even had a bleeding wound on my finger from the paintbrush!
How We Painted a Thrifted Dresser:
1. We purchased supplies. For this project we used a sanding block, 5 different paint brushes (2 cheap ones for primer and 3 good ones for paint), oil-based primer, mineral spirits, and 1qt of latex semi-gloss interior paint. I forgot to take a picture of it but we used Swiss Coffee by Behr.
Our little setup.

We used Kilz Original primer in white.

These are the cheapo primer brushes. The paint brushes were "best" quality rather than "good."
2. We lightly sanded the dresser to remove the sheen from the old finish. We didn’t have to sand it like crazy, just enough to take the gloss out. The primer is the main work-horse for getting the paint to stick.  
Sanded and no longer shiny.

Sanded drawers. Gotta love those nooks and crannies!

3. We wiped the dresser down thoroughly with a damp cloth and let it dry completely. This step is really annoying but important. If you skip it, you will wind up with a gritty surface from the sanding particles. I also hit the insides of the dresser and drawers with a round of Febreze. I have no idea if it did anything but I could not stand the musty smell it had! 
Wiped off and fresh as a daisy.
4. We used cheapo brushes and applied a very thin layer of primer to the entire dresser. We used brushes that we intended to throw away because the oil-based primer is nearly impossible to get out. The primer layer needs to be so thin that you can still see the old finish peeking through. For those of you who bake, this is like the crumb coat when you are icing a cake. 


5. Once the primer was completely dry, we applied a very thin first coat of paint. As you can see in this picture, the top drawer is primed and the bottom drawer is primed+one coat of paint. That first coat should be so thin that you can STILL see the old finish barely peeking through. 
6. We then applied 4 more very thin coats of paint, allowing the dresser to dry completely between each coat. We also sanded rough spots between coats which helped the finish remain smooth and even. I can’t stress how important it is to apply several very thin coats rather than a couple thick coats. The finish will look more professional and will be a lot stronger. Here is a little before and after action!
Before.

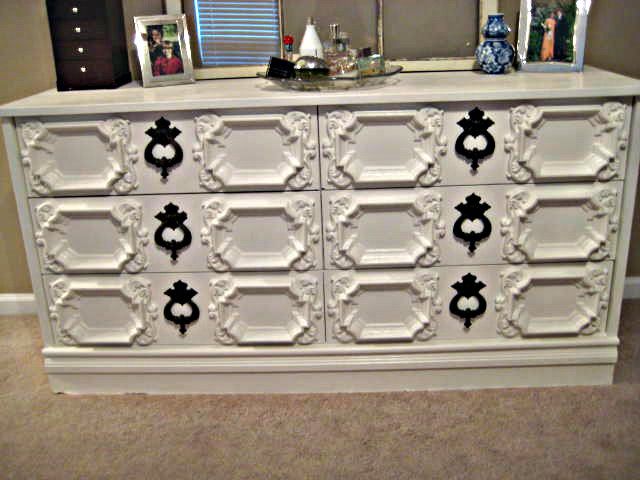
After!

We had a good time with this project and are very happy
with the result. I think we will love it throughout our time in
New Orleans and beyond! Send me a message or leave a 
comment if you have any questions or TIPS for painting
furniture. Knowledge is power and hearing from
you only makes us better DIYers!

Friday, June 1, 2012

Updates and Rosemary Olive Oil Bread

HAPPY FRIDAY WORLD! 
I gotta say all Fridays are blessed events but this one is particularly good for me because it marks the last day I will be flying solo without my boss at work. He has been gone on an amazing adventure out West and I have been acting as his stand-in now for 2 weeks. I'll tell you what I told him... Boss, I'm definitely not after your job. Whew, being in charge is not my cup o tea but thanks be to GOD, I've gotten through it!

We bought the dresser I mentioned in this post. It was originally marked at $65 and we got it for $60. Woohoo! Not the most impressive negotiating, but it's a start. After getting it into our house we think we probably overpaid but it was our first big thrift item so maybe we made up for it in education. I think we will make much better deals in the future.  We are planning to overhaul it this weekend and I'll hopefully post all about it next week. Here is a pic now that it is an official member of our home!


Now for a couple of miscellaneous updates:

1. Our official moving date is July 28th. T-58 days until we become true Cajuns (but not LSU fans).   I couldn't be more ready! 

2. I added a new little feature to the blog that you can use to drop me a line. It's fittingly called "Contact Me." It's at the top, under the big title and again on the right toward the bottom. I would love to hear from you so please say hello!

3. Last but most importantly, I baked a ridiculously easy and delicious bread and it must be shared. I found it on Pinterest but it is originally from Real Simple.

{This is a sweet and savory bread. It has a dense/cakey consistency. We had it with spaghetti for dinner and again for breakfast the next morning... bon appetit!}

Rosemary and Olive Oil Bread
  • 2 1/2 cups all-purpose flour
  • 3/4 cup sugar
  • 1/2 cup chopped walnuts (I didn't use any nuts)
  • 2 teaspoons baking powder
  • 2 teaspoons dried rosemary
  • 1/4 teaspoon salt
  • grated zest of 1 lemon (1 tablespoon)
  • eggs, lightly beaten
  • 3/4 cup sweet white wine or apple juice
  • 1/2 cup extra-virgin olive oil


  1. Heat oven to 350° F. Lightly coat loaf pan with vegetable cooking spray.
  2. In a bowl, stir together the flour, sugar, walnuts, baking powder, rosemary, salt, and lemon zest.
  3. In another bowl, blend the eggs, wine, and olive oil; stir into the dry ingredients.
  4. Transfer the batter into pan and smooth surface. Bake 55 minutes or until a skewer inserted in the center comes out clean.


Monday, May 28, 2012

Cleaning Out, Thrift Project, and a Table Evolution

Hello! Hope your Memorial Day weekend was fantastic. Mine sure was. This weekend kicked off the cleaning out process in preparation for moving. A few days ago I made a list of all the areas that needed to be sorted and reorganized and it basically equaled every room, closet, and cabinet in our house. I plan to tackle them one at a time on the weekends leading up to moving in hopes that I won't get overwhelmed, we'll see how that goes.

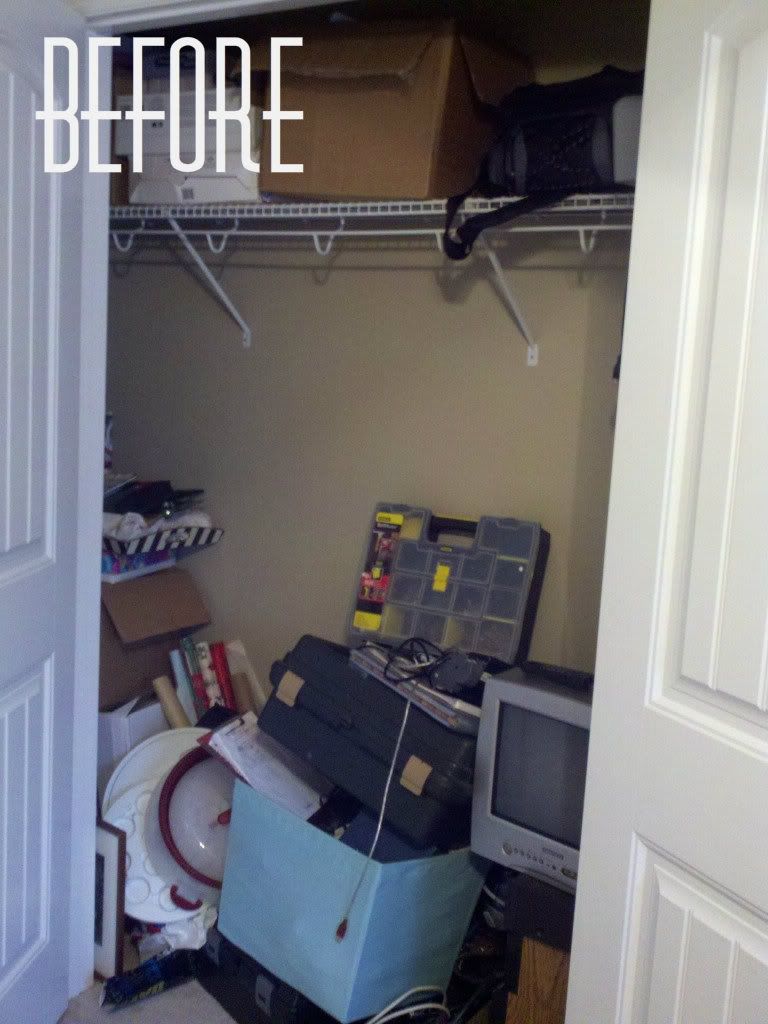
I did our office closet on Friday and boy was it a doozie. I am neither embarrassed nor ashamed to show you this:

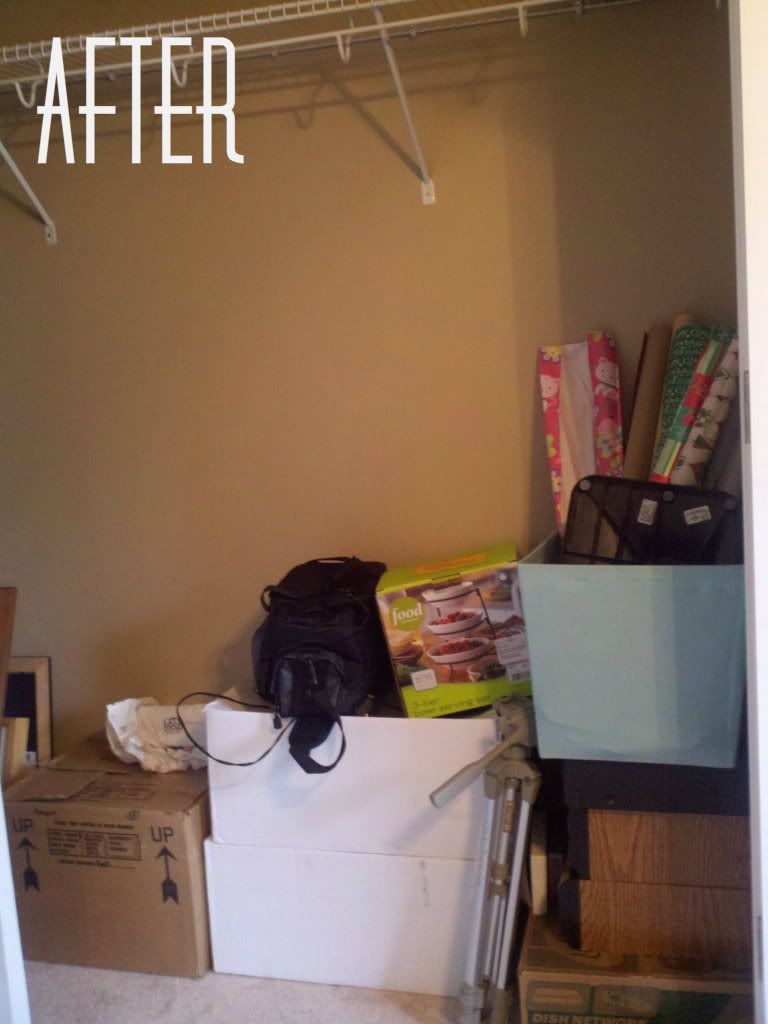
After about 2 hours of sorting and sifting, this was the end result:

Ahh... so much better. I even used color coded labels to divide things into Take, Store, and Donate groups. I will spare you the thrilling details of the color code and move on. 

Andrew and I are kind of in the market for some bedroom furniture. I have been using a chest of drawers that my grandparents bought when they got married. The drawers don't open too well anymore so I tend to just crack them slightly, reach in with two fingers and yank out anything I need. Basically if it's not on the top, I don't wear it. I've been doing this for six years now and as special as it is that this chest belonged to my grandparents, I'm kinda over it (love you grandma!). Andrew's dresser is on loan from his sister Ashley and will eventually need to be returned. 

Sidebar: Ashley, mother of a two and four year old, is currently expecting twins arriving in August. She is busy making room for two more babies in her home. Needless to say, she is not demanding the dresser back anytime soon and we are ever so grateful!  
  
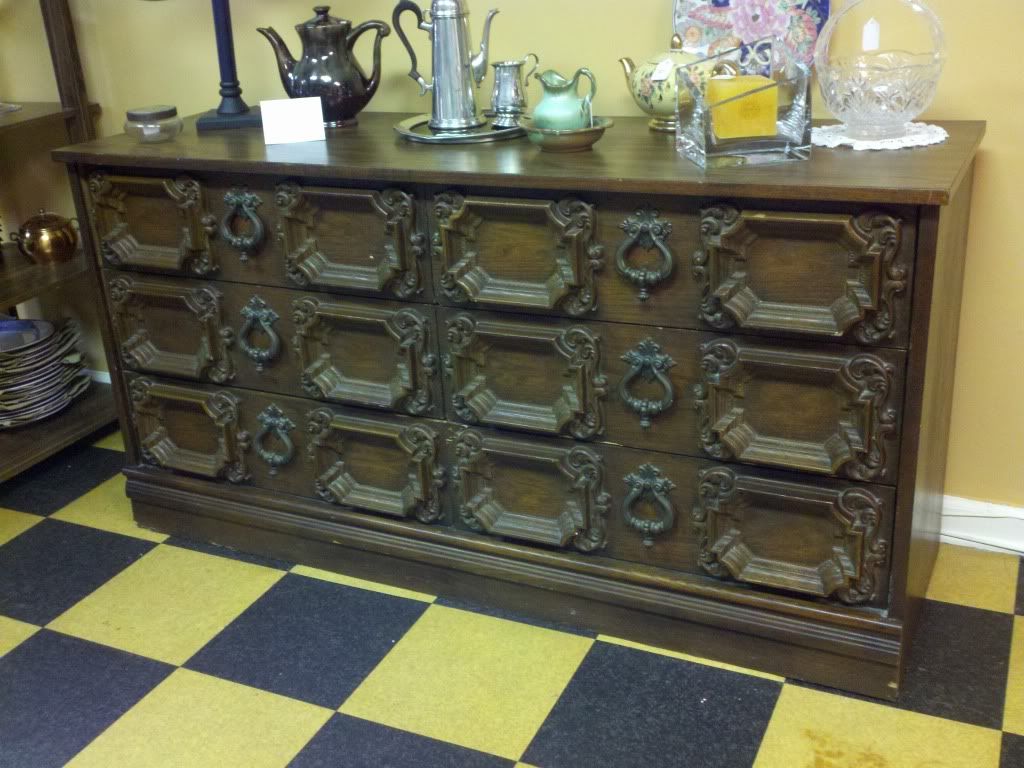
We aren't in a position right now to buy shiny new bedroom furniture but we are in the position to thrift and DIY! We found this interesting mid-century dresser at Collins Thrifts and More in Valdosta for $65. It has two more drawers than my current dresser and they all open and close properly! Its appearance is admittedly questionable. It kind of looks like it belongs in a dungeon. But trust me, I have a vision for it and I think it will look really cool when it's all said and done. We will likely purchase it tomorrow and I will be sure to post its evolution. 

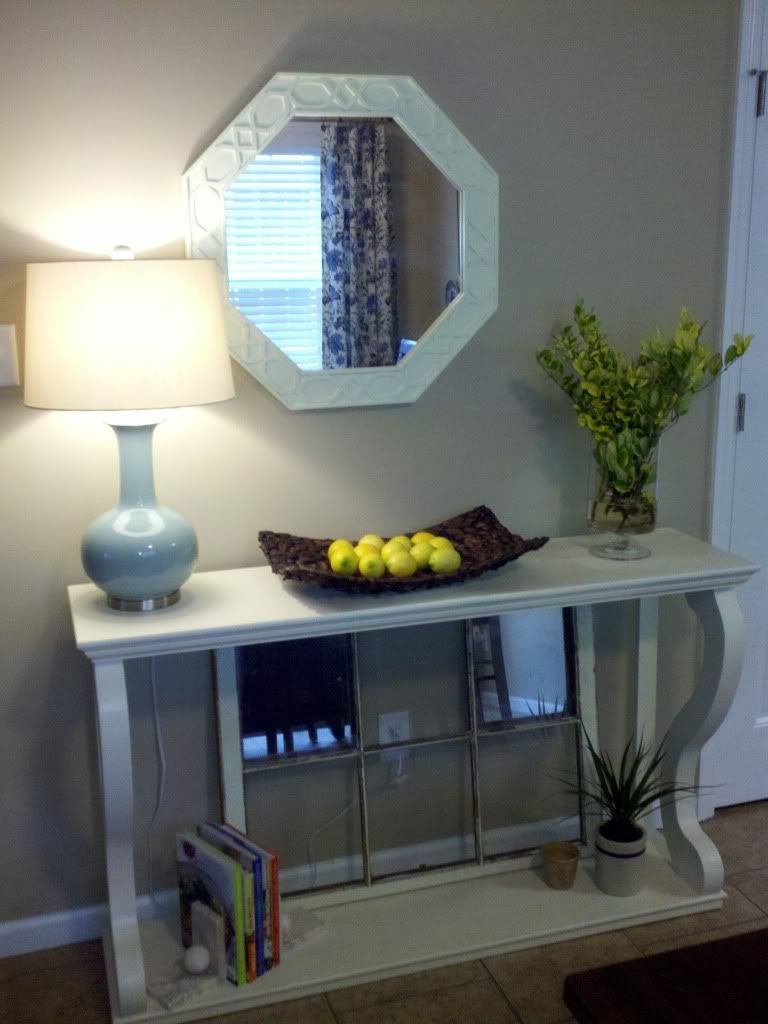
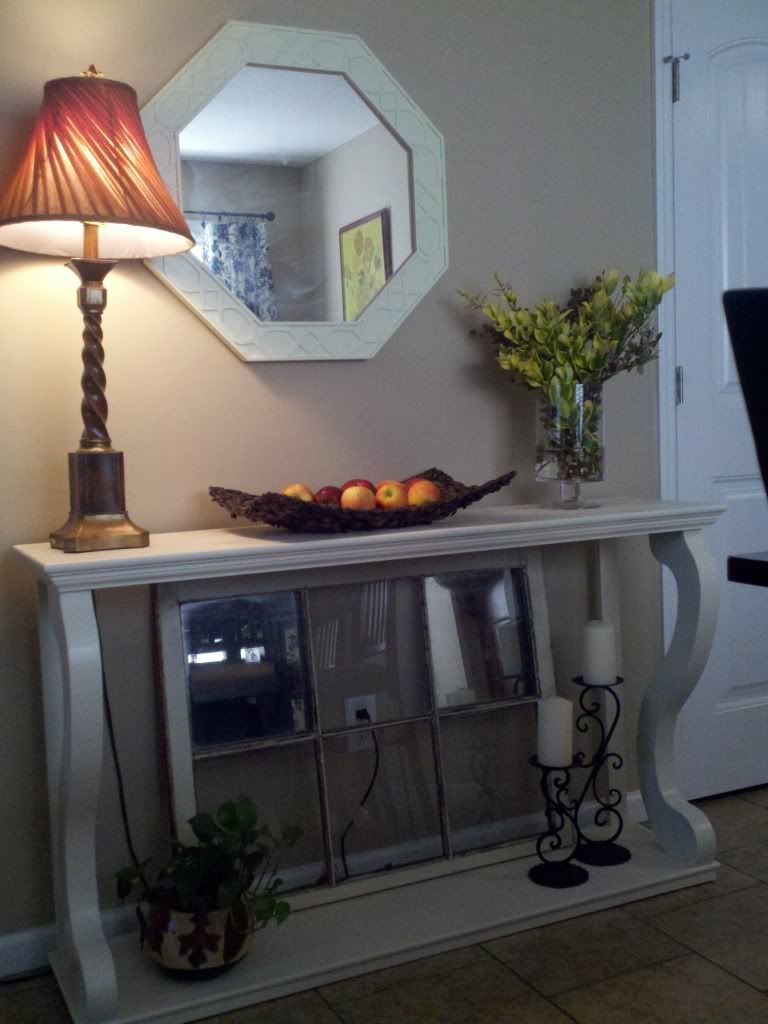
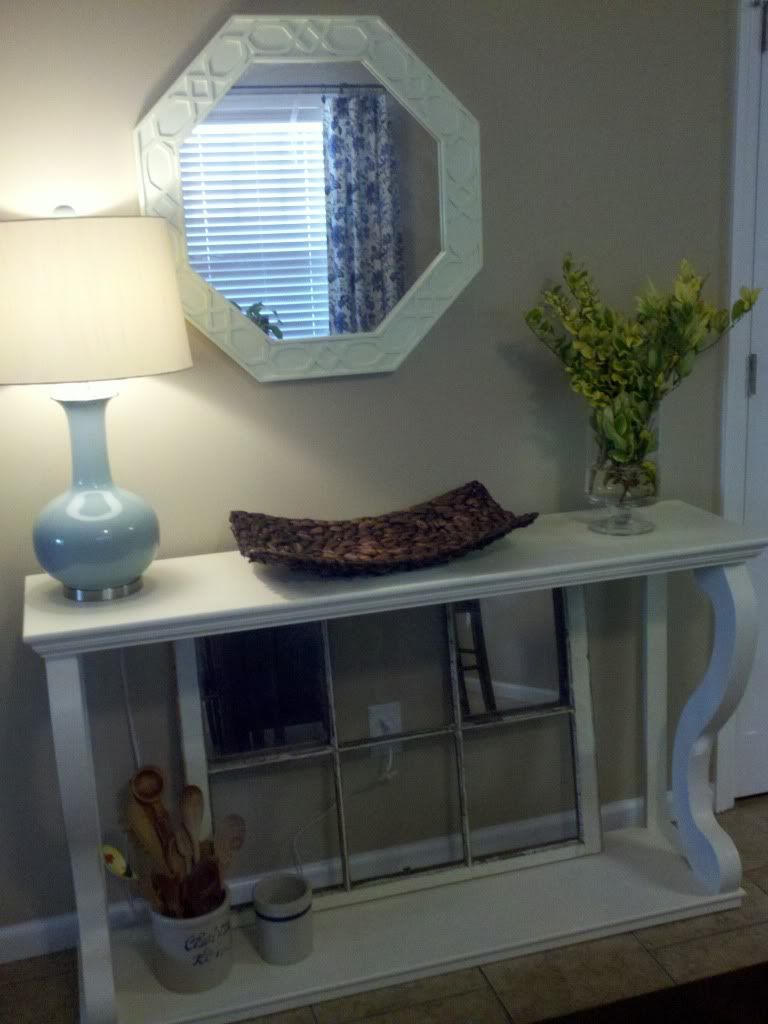
Speaking of evolution, I have a table in my dining room that is constantly evolving. It usually changes with the seasons but since Easter it has been really boring, housing one measly lamp and a couple of candle sticks. Over the weekend I tried a number of things and finally settled on something that I think will look nice through the summer. Let this be an encouragement that sometimes (or all times) your house is a work in progress. Don't be afraid to change it until you love it. One of my favorite design bloggers, the Nester, lives by the mantra, it doesn't have to be perfect to be beautiful. Thank God! My table evolved at least 5 times just over the weekend and it's probably not finished. Here are some forms it took and where it's at now (far right): 


The more I blog the more I realize my camera (aka cell phone) stinks. I am looking for tips for taking better pictures with a cell phone. Maybe one day I'll get a big girl camera but until then... please accept my graininess. Happy day! 

Related Posts Plugin for WordPress, Blogger...