Showing posts with label DIY. Show all posts

Monday, March 4, 2013

The Weekend I Felt Like a Tired Whale

This weekend pregnancy fatigue and discomfort really started setting in. I was having a hard time accepting the fact that I probably needed to slow down and rest, especially on the weekends. In my initial denial I committed myself  to baking 4 dozen muffins, completing 3 major nursery projects, taking a friend's maternity pictures, cooking 2 labor intensive meals, going to breastfeeding class, going to Sunday school and church, and hosting Lifegroup. 

By Saturday at 1:00PM I found myself so tired that I wanted to lay down on the carpet at the breastfeeding class and take a nap. It was clear in the first 10 minutes that babies have an innate ability to find the boob and Andrew was there to take notes, so what was the harm? I made the choice to exercise my social graces and not lay down in the middle of the floor but my exhaustion resulted in a little meltdown later that afternoon. I felt like I just couldn't be all I could be anymore and it was driving me crazy and making me feel behind in life. 

The good news is, Andrew and I ended up having a really helpful conversation about priorities and resting and making the most of the next few weeks together and not over-committing and avoiding run on sentences. Not really about that last part.  

I didn't get everything done that I had planned, but I think I got the important things done. The others can wait. Or be forgotten altogether. It helped that the city of New Orleans went under a boil water advisory on Sunday which meant I couldn't wash my dishes. Oh darn. 

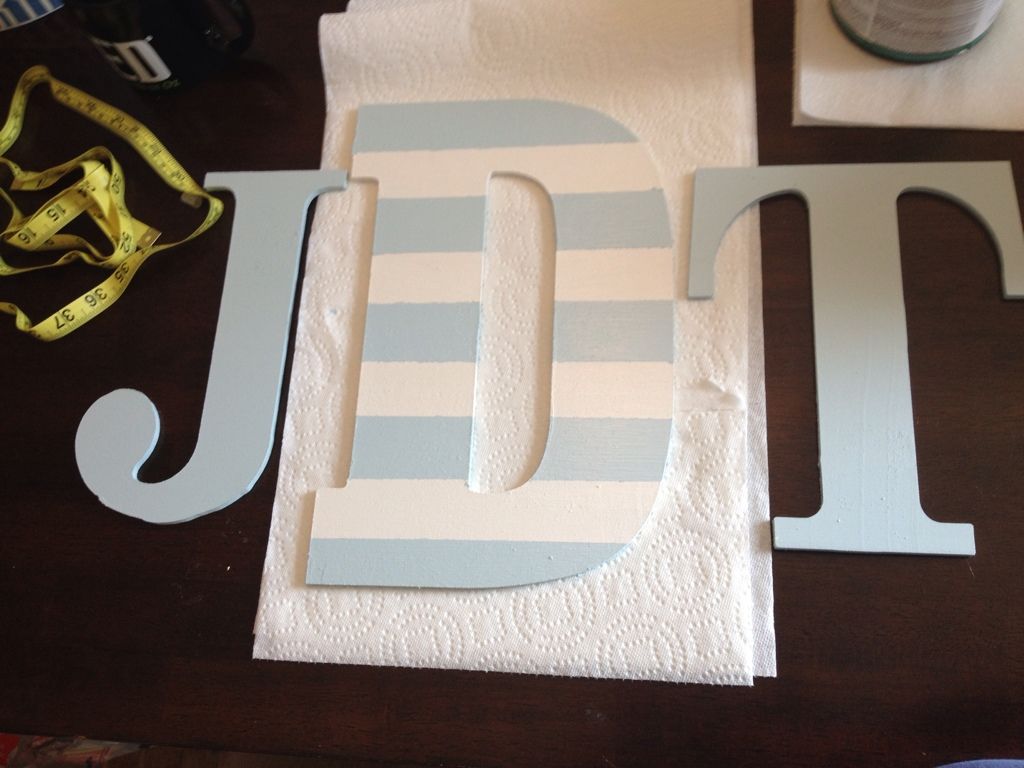
I did complete a couple of nursery things that I am pretty happy with. 


I bought the wooden letters at Hobby Lobby for about $10 and painted them. The stripes were an afterthought. I may do a little tutorial about it because it got a little confusing and there might be at least one other person in cyber space as remedial as me when it comes to crafts. 


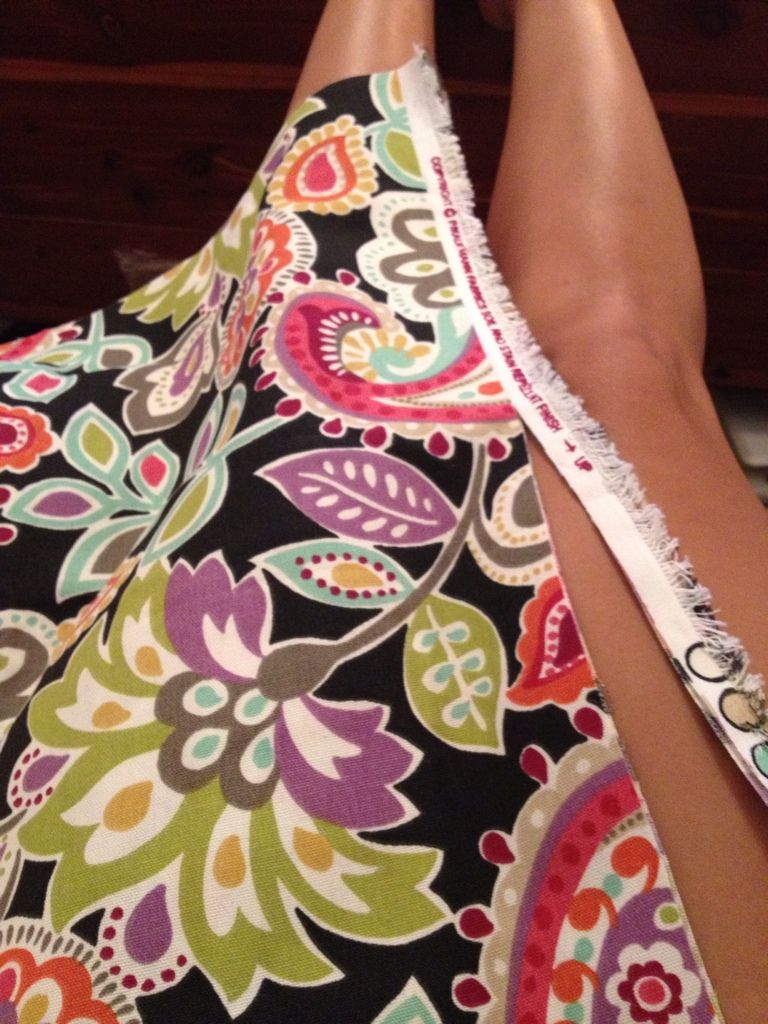
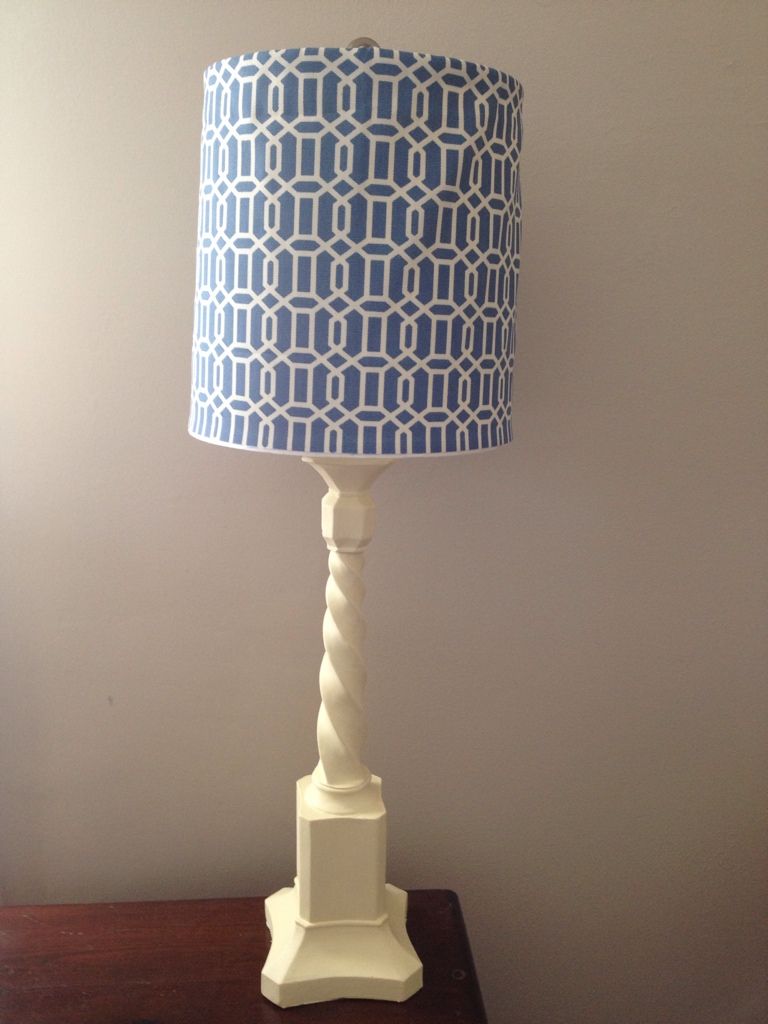
I covered this lamp shade with a $3.50 fabric scrap, also from Hobby Lobby, and painted the base of the lamp. 


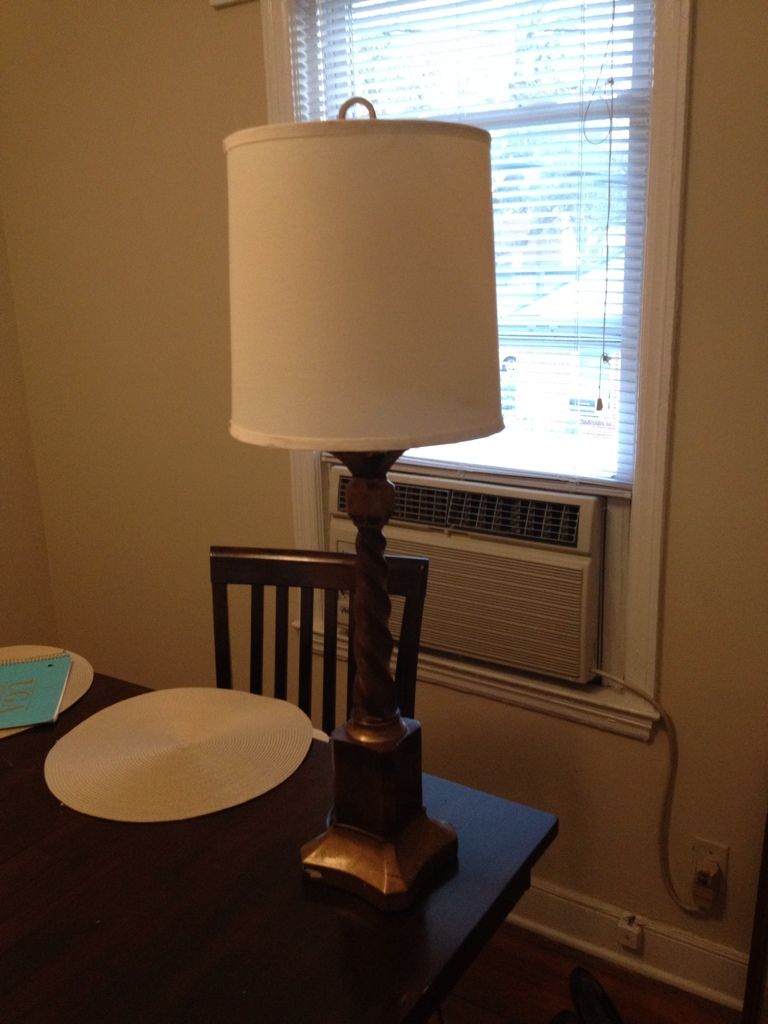
If it weren't for my stellar photography, you would be able to see that the fabric is not perfectly smooth and flat on the shade. But it's OK. The weird part faces the wall and no one can see it. And I doubt anyone cares if it's a little bumpy. James certainly doesn't. 


And for kicks, this is me 32 weeks pregnant and tired. That's the outfit I wore to Lifegroup. Paint-stained sweatpants, non-maternity shirt that almost doesn't cover my stomach, and bedroom slippers. That's what I call doing life together. 


It's getting increasingly harder to angle my head in a way that disguises my 3-7 chins. But here's to trying!


Linking up! 

stillbeingmolly


Monday, January 7, 2013

UGA Subway Art


For Christmas I wanted to make my BFF Katie a little homemade gift.  I started with the idea that it would be fun to make her a cute Christmasy subway art for her new house and I came up with the simplest idea ever since I am not an overly inclined craft wizard.

Check it out:

First I found a really cute, free printable Christmas subway art. You can download it too if you want! Just click HERE and print away! Oh and if you want a billion more Christmas printables, just click HERE.

Then I purchased an 8X10 picture frame. A fancier one would have probably looked a little better but since this was a first time attempt with this project and I didn't want to ruin a fancy one, I got a really basic one. 

Next, I got a can of color coordinating spray paint and painted that bad boy bright red. 

Lastly, I put the printable in the frame and Voila!

Wait a second...

My frame is the perfect shade of Georgia Bulldog red. 

Hmm....

I had an explosion of thoughts and decided that it would be way more fun if Katie could use the frame at times other than Christmas and since she is the biggest Georgia Bulldog fan I know besides my dad, a UGA subway art would be PERFECT! 

Except...

I couldn't find a single downloadable one online. (Ok, so there was one but I didn't like it.)

I decided to dabble around with that amazing online photo editing site pixlr.com and make Katie a custom UGA subway art. Doesn't that sound fancy?

Y'all know I like to dabble... 

I'll be darned if the dern thing didn't turn out pretty dog-gone well. Can you tell I'm from South Georgia? 


So for kicks, I thought I would go out on a limb and share it for free with you all since there seems to be a lack of good (mediocre?) UGA subway art in cyberspace. 

To download my UGA Subway Art for FREE just click HERE

The image will open up in Google Docs/Drive. You might be able to print from there but if not, just click File then Download and it should open up in a format that you can print. 

If all else fails and you just NEED UGA Subway Art in your life, shoot me an email and I will be happy to send it to you in the format of your choice! 

charlottebryan1@gmail.com


Linking up with these cool bloggers:
 YOLO Monday

Semi Homemade Mom

Friday, July 6, 2012

Week of the Fourth in Pictures!

It's that time again! Here is what I have been up to this week.

1. One of my BFF's and former college roomate, Kathryn, came down from Atlanta to visit and we got together with Katie for a girls night!

2. We face timed our other BFF, Faren in Nashville (rising country music star) and she didn't want to be seen. She is practicing for paparazzi.

3. Wet n' Wild 99 cent Mega Last nail polish in Refresh Mint and Club Havana

4. Fourth of July Party at work.

5. Surprise trip to Auburn. Waking up Caleb upon arrival!

And as always, linking up with Jeanett. Have an amazing weekend!

life rearranged

Tuesday, July 3, 2012

I Made a Pillow


Warning: this is not a tutorial. Please, no one learn to sew from me. 
I sewed a pillow and honestly the events leading up to the birth of this pillow were kind of magical.
To begin with, I really wanted to learn to sew and a few months ago my sweet mother-in-law gifted me her old sewing machine from when Andrew and his sisters were growing up. 
She got it serviced from head to toe so it would be in tip-top shape for me to learn. It sews beautifully (as far as I know).

Meanwhile, I really wanted new bedding for our guest bed but in the event of moving to New Orleans that went way to the bottom of the priority list.
Yesterday I went to Hobby Lobby to scope out the fabric scraps so that I could get one to practice sewing. I found a great scrap for $2.70. I repeat, two dollars and seventy cents.

I might not have purchased this fabric for $10 but for $2.70 I decided I liked it and it would make a great practice pillow.

The colors in the fabric really didn’t go with anything in our house.  
So the guestroom. Oh that dern guestroom.The bed had a girlie pink and green pastel quilt and big green euro pillows and I had just been over it for a while. Remember this embarassing picture?

What I really wanted was white bedding with funky colorful pillows. Akin to this...

And then BAM. It hit me. I could just turn the quilt over (backwards) so that its perfectly WHITE underside would show.

I could use my cheapo fabric that didn't go with anything else in our house to make a pillow.

And the bedding of my desires (sort of) would be mine. For $2.70.


Is this what Martha Stewart feels like?
I flipped my quilt, sewed up the pillow, and just as if my fairy godmother of craftiness had sprinkled me with pixie dust, I achieved a satisfactory look for my guest room and accomplished my first real sewing job. 

I feel so proud, the only word that keeps going through my mind is "booya."

Tuesday, June 5, 2012

DIY Furniture Painting


Let me start with a disclaimer – Andrew and I are in no way an authority on furniture painting. This was our very first attempt at a big furniture redo. You can read about the dresser we thrifted here. It turned out great so I am going to share it!
Some things you should know before you begin:
1. DIYing furniture requires some research. We read a TON of articles before we ever started or bought the first supply. We also talked with the owner of the thrift store where we purchased the dresser as well as our dependable Home Depot paint man. Between these resources we felt confident in pressing forward. Without them we would have ended up with a big old mess. Some articles we found helpful can be found by clicking here and here. And also here.
2. DIYing furniture can sometimes be as expensive as buying new, especially the first time. We began with zero supplies so we had to buy EVERYTHING. The total cost of our dresser+supplies was around $120. This is much less expensive than the pieces of furniture we like that are new; however, it wasn’t “cheap” (by our standards).
3. DIYing furniture is not for the faint of heart. We quickly learned that if we wanted our dresser to look good we had to be patient and take our time. We ended up spending about 10 straight hours out on our HOT driveway working on the dresser from start to finish. At the end we were both sun-burnt and exhausted. I even had a bleeding wound on my finger from the paintbrush!
How We Painted a Thrifted Dresser:
1. We purchased supplies. For this project we used a sanding block, 5 different paint brushes (2 cheap ones for primer and 3 good ones for paint), oil-based primer, mineral spirits, and 1qt of latex semi-gloss interior paint. I forgot to take a picture of it but we used Swiss Coffee by Behr.
Our little setup.

We used Kilz Original primer in white.

These are the cheapo primer brushes. The paint brushes were "best" quality rather than "good."
2. We lightly sanded the dresser to remove the sheen from the old finish. We didn’t have to sand it like crazy, just enough to take the gloss out. The primer is the main work-horse for getting the paint to stick.  
Sanded and no longer shiny.

Sanded drawers. Gotta love those nooks and crannies!

3. We wiped the dresser down thoroughly with a damp cloth and let it dry completely. This step is really annoying but important. If you skip it, you will wind up with a gritty surface from the sanding particles. I also hit the insides of the dresser and drawers with a round of Febreze. I have no idea if it did anything but I could not stand the musty smell it had! 
Wiped off and fresh as a daisy.
4. We used cheapo brushes and applied a very thin layer of primer to the entire dresser. We used brushes that we intended to throw away because the oil-based primer is nearly impossible to get out. The primer layer needs to be so thin that you can still see the old finish peeking through. For those of you who bake, this is like the crumb coat when you are icing a cake. 


5. Once the primer was completely dry, we applied a very thin first coat of paint. As you can see in this picture, the top drawer is primed and the bottom drawer is primed+one coat of paint. That first coat should be so thin that you can STILL see the old finish barely peeking through. 
6. We then applied 4 more very thin coats of paint, allowing the dresser to dry completely between each coat. We also sanded rough spots between coats which helped the finish remain smooth and even. I can’t stress how important it is to apply several very thin coats rather than a couple thick coats. The finish will look more professional and will be a lot stronger. Here is a little before and after action!
Before.

After!

We had a good time with this project and are very happy
with the result. I think we will love it throughout our time in
New Orleans and beyond! Send me a message or leave a 
comment if you have any questions or TIPS for painting
furniture. Knowledge is power and hearing from
you only makes us better DIYers!
Related Posts Plugin for WordPress, Blogger...